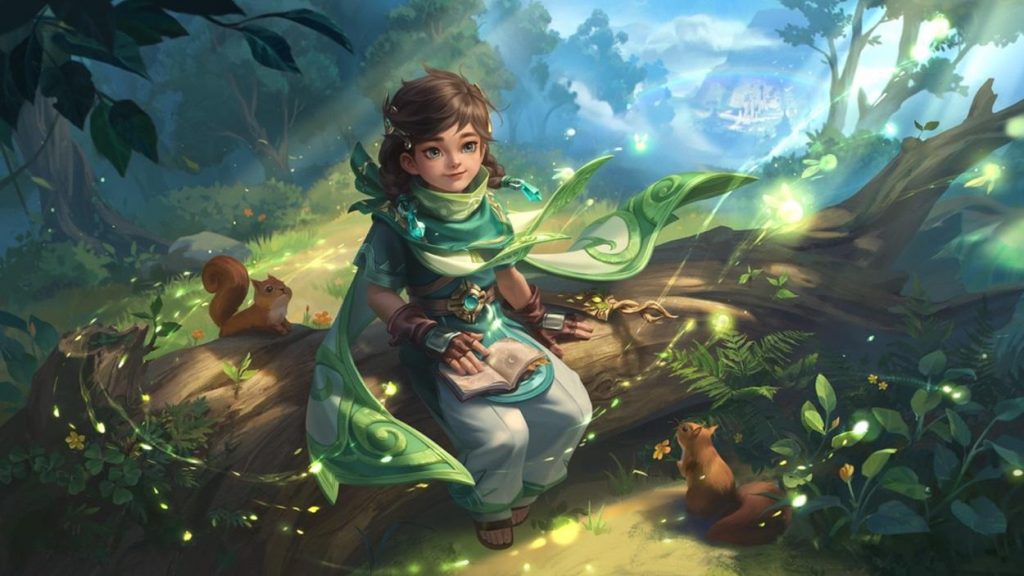
Sakeer: Ultimate Utility Support Guide for Honor of Kings

Sakeer is a versatile Support/Mage hybrid who excels at outmaneuvering enemies, providing sustained healing, and controlling the battlefield with strategic vision. She is the ultimate utility hero, relying on smart positioning and timing rather than raw damage.
1. Sakeer’s Core Abilities
Sakeer’s kit revolves around her unique firefly mechanic and her ability to rapidly dash between bushes.
| Skill Name | Type | Key Effect | Strategy Focus |
| Passive: Firefly Protection | Healing/Damage | Sakeer summons fireflies that automatically heal the nearest ally or damage the nearest enemy. Heals Sakeer herself when no enemies are nearby. | A low-maintenance sustain tool. Use safe moments to self-heal. |
| Skill 1: Mulberry Power | AoE/Utility | Targets an area. Effect depends on Firefly stacks: Heals allies and deals AoE damage to enemies. | Primary Healing and Poke. Use frequently to sustain allies and disrupt enemies. |
| Skill 2: Ride the Wind | Mobility/Vision | Dashes into a nearby bush and releases fireflies. Has three charges, allowing for rapid repositioning across the map. | Core Mobility & Vision Tool. Essential for quick rotations and staying alive. Use charges to chain dashes. |
| Ultimate: Firefly Fields | AoE/Vision | Drops a Magic Bush that damages enemies or heals allies, while also providing crucial vision of the area. | Game-Changing Utility. Use to secure objectives, deny enemy vision, or set up a safe team fight zone. |
2. Arcana Setup (Survivability & Utility)
Sakeer’s Arcana must prioritize survivability, health, and Cooldown Reduction (CDR) to ensure she can continuously support her team.
| Arcana Color | Arcana Name | Quantity | Stats Provided | Rationale |
| 🔴 Red | Fate | 10x | Max HP, Attack Speed, Physical Defense | Prioritizes survivability, letting Sakeer soak up burst damage in team fights to keep healing. |
| 🟢 Green | Void | 10x | Cooldown Reduction, Max HP | Crucial. Max CDR allows for continuous spamming of S1 and S3, maximizing utility and healing. |
| 🔵 Blue | Harmony | 10x | Movement Speed, Health Regen | Boosts mobility for better rotation and positioning, while passive regen enhances her overall sustain. |
3. Recommended Item Build (Tanky Utility)
The goal is to make Sakeer extremely tanky, mobile, and annoying to the enemy team through strong utility effects.
| Slot | Item Name | Key Benefits | Rationale |
| 1 | Boots of the Arcane | Mana Regen, Magic Pierce | Provides necessary mana sustain and a small early-game damage bump for poke. |
| 2 | Crimson Shadow Radiance | Movement Speed, Tankiness | Enhances map presence and provides crucial dual-resistance needed for roaming supports. |
| 3 | Overlord’s Platemail | Dual Defense, Health Regen | A massive tank spike, protecting her against both physical and magic threats, allowing her to survive long enough to heal. |
| 4 | Frozen Breath | Magic Damage, Slow Passive | Excellent utility item. The slow makes her skills even more disruptive and makes it harder for enemies to escape ganks. |
| 5 | Breakthrough Robe | Health, Magic Attack | Solid mid-to-late game item, balancing a health buffer with a power boost for her healing and damage. |
| 6 | Mask of Agony | Magic Damage, Passive Damage over Time | Adds a frustrating damage-over-time effect to her skills, increasing her harassment potential without sacrificing her utility focus. |
4. Strategy & Combos
Sakeer’s strength lies in her constant movement and ability to turn a defensive position into an offensive opportunity.
Early Game (Babysitting & Vision)
- Lane Focus: Stick to your Marksman (Farm Lane). Focus on using S1 to heal them and poke enemies.
- Bush Control: Use S2 (Ride the Wind) to quickly pop in and out of bushes, making you hard to hit and always ready to reposition.
- Vision Priority: Use your Ultimate (S3) defensively in the nearest bush to deny enemy jungle ganks and secure vision.
Mid to Late Game (Roamer & MVP)
- Rotate Constantly: Use the three charges on S2 to zip between lanes and team fights. Your job is to be where the fight is happening.
- Team Fight Positioning: Stay near your carries (Marksman/Mage). Use your ultimate to create a safe zone for your allies or to provide vision on key enemy flank routes.
- Disruption: If an enemy assassin dives your carry, use S1 for an immediate heal and S3 to slow and damage the threat. Use S2 to quickly reposition yourself or block skill shots.
🌪️ Essential Combos
| Combo Name | Input | Purpose |
| Initiation & Control | S3 (Ultimate Bush Drop) > S1 (Mulberry Power) > Auto-Attack/Poke | Sets up an area of control immediately followed by burst utility/healing, perfect for starting a fight. |
| Safe Poke & Retreat | S2 (Dash into Bush) > S1 (Poke/Heal) > Flash (Escape if pressured) | Allows for quick, aggressive utility without overcommitting. If your S2 charges are spent, Flash is your safety net. |
Counters & Synergies
- Struggles Against: Hard Crowd Control (CC) heroes like Mozi, or highly mobile dive Assassins like Han Xin who can bypass your bush dashes.
- Synergizes With: Marksmen who need sustained protection and healing, such as Garo or Huang Zhong, allowing them to remain safe while dealing continuous damage.
Sakeer is a highly rewarding support for players who value map control, positioning, and strategic utility.
Do you have any other questions about Sakeer’s item progression or perhaps a specific enemy matchup?